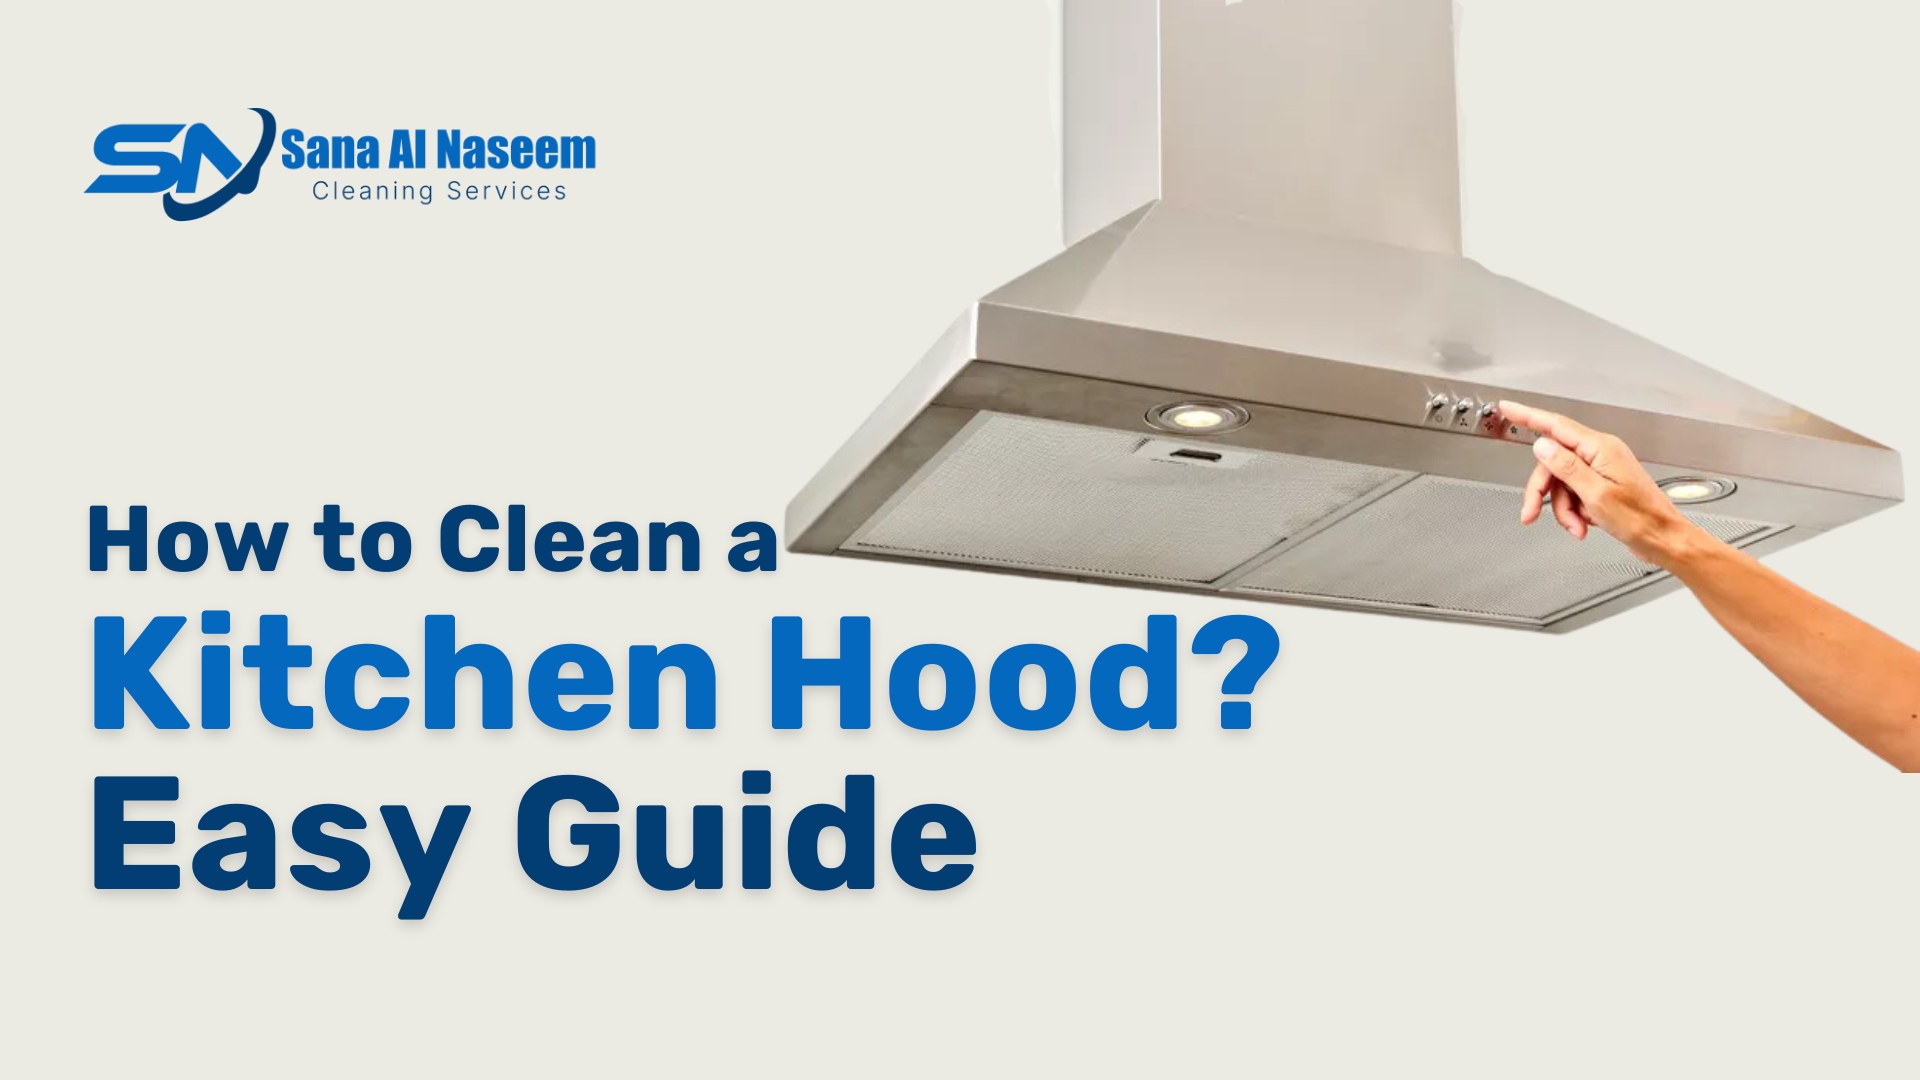
A kitchen hood plays a crucial role in maintaining a clean and healthy cooking environment. It removes smoke, grease, and other pollutants, ensuring the air in your kitchen stays fresh. However, over time, these hoods can accumulate grime and lose efficiency. Regular cleaning is essential to keep them in top condition. In this guide, we’ll walk you through the various methods and steps to effectively clean your kitchen hood.
Understanding the Importance of a Clean Kitchen Hood
The functionality of your kitchen hood directly impacts the air quality in your cooking space. A buildup of grease and dirt not only hampers its performance but can also pose a fire hazard. Therefore, knowing how to properly clean and maintain your hood is key.
Preliminary Steps: Preparation and Safety
Before diving into the cleaning process, follow these preparatory steps to ensure safety and effectiveness:
- Power Off: Ensure the hood is turned off and unplugged.
- Grease Filter: Remove the filter and soak it in a warm, soapy water solution.
- Cleaning Tools: Gather a soft cloth or brush, a dry cloth, a vacuum cleaner, and other necessary cleaning supplies.
- Inspection: Check the hood for any signs of damage or wear that might require repairs.
Here are some Environmental Sustainability Technical Guidelines by Dubai Municipality.
Tools for Kitchen Hood Cleaning
Having the right tools at your disposal can make the cleaning process smoother and more efficient. Here’s what you’ll need:
- Step stool or ladder
- Screwdriver
- Dry and damp cloths
- Degreaser
- Sponge
- Bucket of warm water

6 Easy Step for Kitchen Hood Cleaning
1. Turn Off the Hood
Safety first: Make sure the hood is turned off to avoid any electrical hazards.
2. Clean the Hood Baffle
The baffle acts as a barrier, catching larger particles. Remove it, then wash with warm water and, if necessary, a degreaser.
3. Clean the Grease Filter
The grease filter is crucial for trapping grease and should be cleaned regularly. Use a degreaser and warm water for effective cleaning.
4. Inspect the Hood for Damage
Post-cleaning, inspect the hood for any structural issues. Addressing minor damages early can prevent more significant problems.
5. Clean the Hood Motor
With the grease filter and baffle removed, clean the motor using a dry cloth. For heavier dirt, a slightly damp cloth may be used. Ensure the motor is dry before reassembly.
6. Clean the Hood Vent
Regular vent cleaning is vital for maintaining airflow. Use a vacuum to remove loose debris, then wipe down with a degreaser.
Regular Maintenance Tips
To ensure longevity and optimal performance, clean your kitchen hood every 1-2 months. Regular inspections for damage and prompt repairs are also recommended.
Want professional kitchen duct cleaning services? Sana Al Naseem Cleaning Services provide top notch duct, hood and exhaust fan cleaning services all over the UAE.
Conclusion
A clean kitchen hood is not just about maintaining a neat appearance; it’s crucial for safety and air quality. By following this guide, you can ensure your hood remains efficient and effective. Always refer to the manufacturer’s instructions for specific care guidelines tailored to your model. Happy cleaning!

